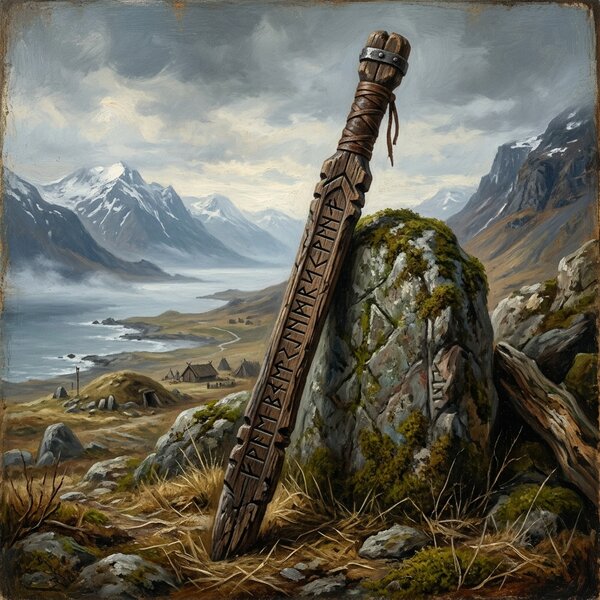
A Viking rune staff combines ancient craftsmanship with personal creativity – and you don’t need a workshop or years of experience to make one. With the right tools, a good piece of wood and these instructions, you can turn a simple branch into a unique piece with a story behind it.
What you can expect from this article
- Key takeaways at a glance
- Introduction: What is a Viking rune staff?
- Materials and tools for your rune stick
- Finding and preparing the right piece of wood
- Carving the basic shape: turning a branch into a staff
- Sanding, oiling, sealing – finishing the surface
- Planning and carving the runes
- Details and decoration: personalising your rune staff
- Care, use and safety in everyday life
- FAQs on the Viking rune staff
 Reading time approx. 9 mins.
Key points at a glance
- You can carve your own Viking rune staff using simple tools – a sharp knife, sandpaper and suitable wood are all you need to get started.
- Hardwoods such as ash and oak are among the hardest woods commonly used for carving; for beginners, however, softer woods such as lime, birch or hazel are more suitable.
- The staff should be cut to suit your height: approx. 80–120 cm long for a walking stick, approx. 30–40 cm for a decorative wand, with a diameter of 2 to 3.5 cm.
- These step-by-step instructions guide you from finding the wood, through shaping and sanding, to decorating it with runes – including tips on care and safety.
- The focus is on a rune staff with a classic Viking look: not a toy, but a decorative and ritual object crafted to a high standard.
Introduction: What is a Viking rune stick?
A Viking rune stick is a wooden stick into which runes – the characters used by the Germanic and Nordic peoples – are carved. Historically, runes were carved into wood, bone, horn or stone and served both as a form of writing and as symbols. During the Viking Age, the Younger Futhark, comprising 16 characters, was predominantly used, whilst the Older Futhark comprises 24 runes and was in use from around the 2nd to the 8th century.
There are plenty of historical examples: in the Swedish province of Uppland alone, around 1,300 of the total of approximately 2,500 runestones known in Sweden have been preserved. The so-called Narsaq Stick from Greenland, a carved pine twig dating from around 1000 AD, shows how even simple wooden sticks were inscribed. And even the German word ‘Buchstabe’ and the Swedish ‘bokstav’ are traditionally traced back to ‘beech stick’ – that is, a runic stick made of beech wood – a popular and ancient etymology which, however, is not entirely uncontroversial in modern linguistics.
What is a hand-carved rune stick used for today? As a decorative object, in LARP and cosplay, in Nordic-inspired rituals, as a gift idea or simply as a personal craft project – entirely without any esoteric promises of healing. The focus is on craftsmanship, history and design.
Materials and tools for your rune staff
Good preparation makes the work easier and safer. Here’s everything at a glance.
| Type of wood | Hardness | Carvability | Special features |
|---|---|---|---|
| Hazel | Soft | Very good | Natural curves, traditionally used |
| Beech | Medium | Good | Fine-grained, sensitive to moisture |
| Oak | Hard | High-maintenance | Very robust, durable |
| Ash | Very hard | High-maintenance | Elastic, distinctive grain, even slightly harder than oak |
Linden, birch and hazel are also well suited to rune sticks – traditionally, it was precisely these softer, easy-to-carve woods that were used, making them the ideal choice for beginners.
Recommended dimensions: length approx. 80 to 120 cm for walking or ritual staffs, diameter approx. 2 to 3.5 cm depending on hand size. Shorter pieces of 30 to 40 cm are suitable as rune wands.
List of tools:
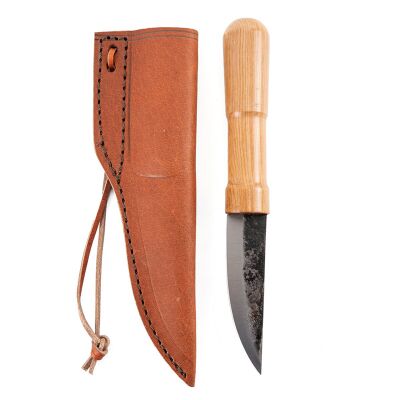
- A sharp carving knife is essential – a pocket knife with a fixed blade will also do
- A small saw or hacksaw, possibly a saw knife for precision work
- Chisel (V-shaped gouging chisel) for the rune grooves
- Sandpaper in grits 80, 120 and 220
- Pencil, ruler, tape measure
- Wood oil, beeswax, leather cord, metal cap or rubber stopper
Safety: Cut-resistant gloves are strongly recommended. You should also wear safety goggles, work on a stable surface and keep a first-aid kit within easy reach.
Finding and preparing the right wood
There are essentially two options: using a fresh branch from the forest (green wood) or a pre-dried round stick from a DIY store.
Legal restrictions on collecting wood: Collecting so-called ‘found wood’ is not generally permitted in Germany without authorisation. Without the forest owner’s permission, it may be legally classified as theft under Section 242 of the German Criminal Code (StGB). Although some federal states do allow the collection of small quantities of deadwood from state-owned forests without a separate permit, the exact rules vary considerably from one federal state to another. As a general rule: only use branches that are already dead, do not damage living trees, and respect protected areas. If you want to be on the safe side, buy wood from the forestry office or a DIY store.
Here’s a step-by-step guide to preparation:
- Choose a branch that is as straight as possible, with no rot or cracks. The size should be based on your height.
- Cut the branch to the desired length.
- Trim off any side shoots flush with the branch, without making deep notches.
The wood should be allowed to dry thoroughly before carving. Green wood should ideally be left to dry for several weeks in a well-ventilated place – not in direct sunlight or next to a radiator. Wood from a DIY store that has already been seasoned, on the other hand, only needs a few days to acclimatise.
Carving the basic shape: turning a branch into a stick
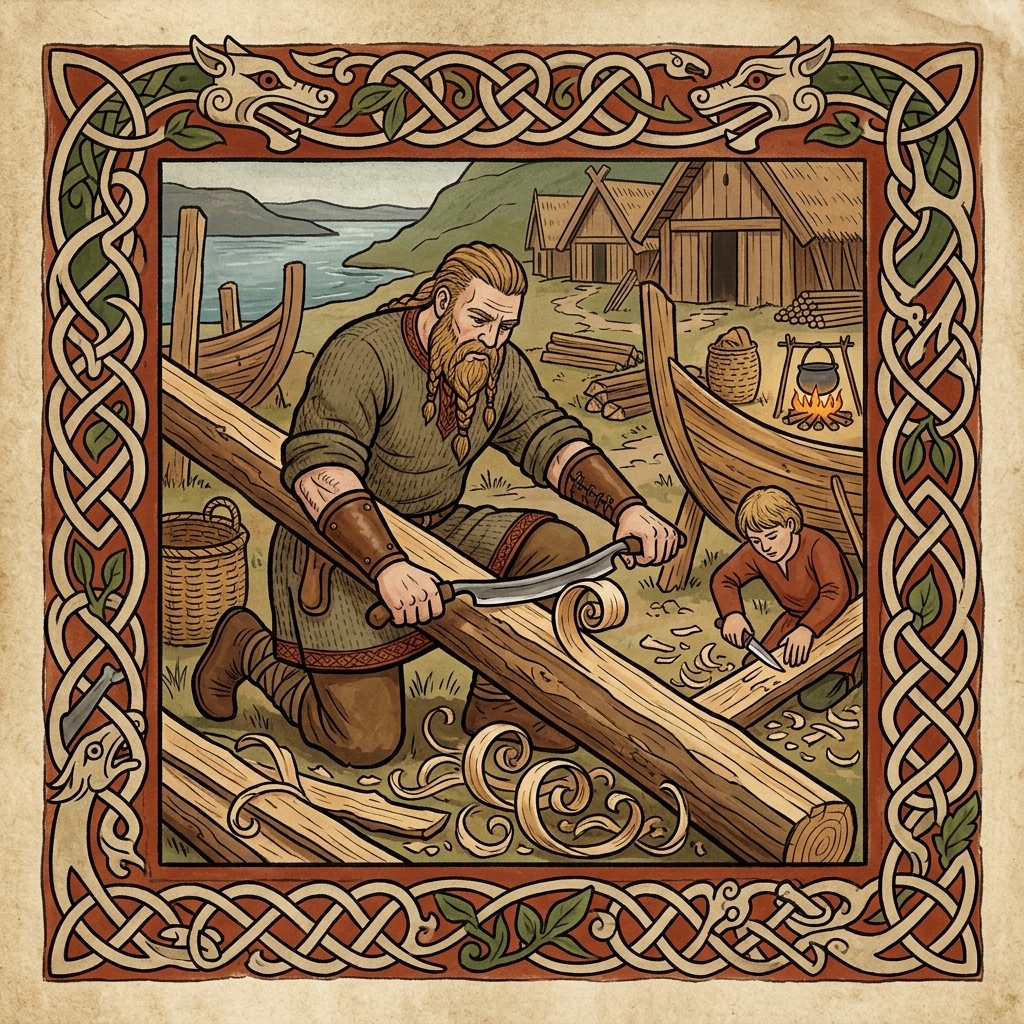
Now comes the practical part. First, the bark must be removed – this is the first step towards shaping it into a rod.
Step-by-step guide:
- Removing the bark: Using a carving knife or scraper, peel the bark off in long strokes, always working away from your body.
- Flatten edges and bulges: Carefully remove any uneven areas, but do not let the stick become too thin – the base must remain stable.
- Shape the grip area: Thicken it slightly at the top or make use of natural knots; at the bottom, straighten the end neatly.
Correct cutting requires attention to the grain of the wood. Work with the grain rather than against it – removing small amounts of wood at a time gives you better control and prevents unwanted splinters.
Safety: Secure the stick in a screw clamp and never carve towards your free hand. The stick may retain slight curves and knots – this looks more natural and emphasises its handcrafted character.
Sanding, oiling, sealing – finishing the surface
The finish determines the feel, moisture protection and durability of your rune stick.
Sanding procedure:
- Coarse sandpaper (80 grit): Remove carving marks and round off sharp edges
- Medium-grit sandpaper (120–150): smooth the surface
- Fine-grit sandpaper (220–320): to create a silky-smooth surface
Before oiling, remove any dust with a dry cloth. Then apply a thin layer of wood oil with a cloth and wipe off any excess after about 10 to 15 minutes. After 24 hours, a second coat may be applied if desired. Alternatively, beeswax can be rubbed in and polished – this produces a matt, warm finish.
Sand the grip area particularly carefully and, if desired, create a slight texture with spiral grooves so that the staff lies securely in your hands even when they are damp. The grain of ash and oak is shown off to particular advantage after oiling.
Planning and carving the runes

In this step, a beautiful wooden stick is transformed into a genuine Viking rune stick. Historically, rune inscriptions were usually carved and often highlighted with colour.
Choosing runes: The Elder Futhark comprises 24 runes dating from around 150 to 800 AD. Here are some examples of runes and their traditional meanings:
- Algiz – protection
- Raidho – journey, path
- Fehu – prosperity, livestock
To start with, 3 to 5 clearly recognisable symbols are quite sufficient; there’s no need to create a complete Futhark set straight away.
Planning the design:
- First, sketch out the order of the runes on paper
- Decide on spacing and orientation: vertically in a line or spiralling round the stick
- Transfer the carving template onto the stick using a washable marker or a soft pencil
Carving techniques:
- Use a sharp knife or V-shaped chisel to cut V-shaped grooves along the lines
- Aim for a consistent depth – it’s better to make several shallow cuts than one that’s too deep
- Clamp the stick securely and work without rushing
Dark wood stain, linseed oil with pigment or coloured wax are suitable for highlighting the runes. Wipe off any excess colour immediately so that only the grooves remain dark. This technique is reminiscent of the historical ‘Kohlrosing’ method, in which thin lines were carved into wood and filled with a dark substance.
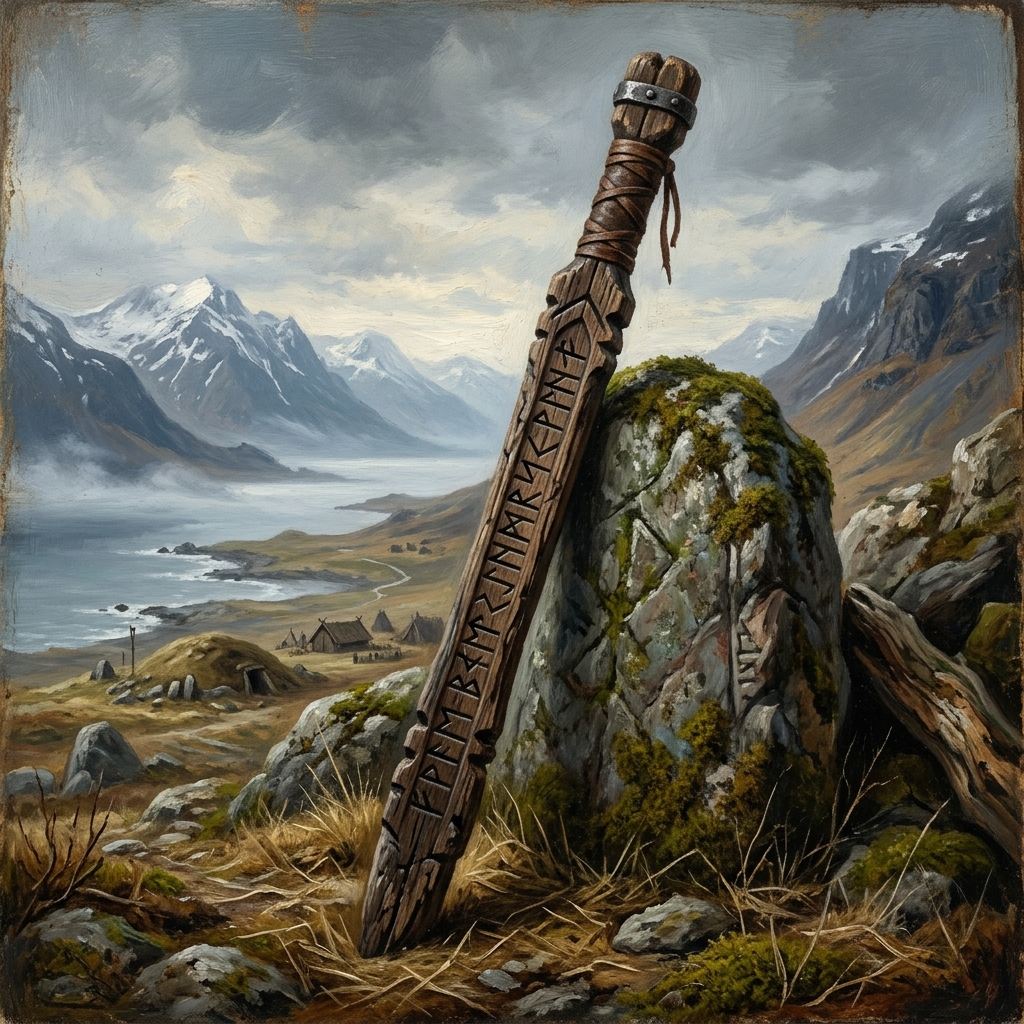
Design suggestion: a continuous ‘rune band’ running the full length of the staff, complemented by a striking main rune near the grip.
Details and decoration: personalise your rune staff

All the following ideas for additional decoration are optional.
Grip ideas: wrap the staff with a leather strap or waxed cord for a better grip, using either a simple hand knot or a more elaborate Viking knot pattern.
Base finish: A rubber tip prevents slipping and protects the wood whilst walking – simple furniture glides or rubber feet from a DIY store will also work, provided the diameter is a good fit. Alternatively, a metal cap can be fitted.
Further carving details: Carve in spirals, knot patterns or geometric bands. Smaller symbolic motifs such as stylised ravens or dragon heads complement the Nordic aesthetic; stones or beads can be attached to the staff with wire. Subtle glazes highlight individual sections without detracting from the natural character of the wood.
Your finished rune staff is ideal as a photo prop for medieval festivals, as a gift for Viking fans or simply as a decorative item – and, with proper care, will last a lifetime.
Care, use and safety in everyday life
With proper care, your rune staff will last for many years and develop a patina over time – small scratches and signs of wear tell its story.
Care instructions:
- Allow to air-dry after rain; do not place directly on a radiator
- Re-oil or wax lightly once or twice a year
- Check regularly for cracks, particularly at the ends and joints
Tips for use: When used as a walking stick, the handle should ideally be at about wrist height when walking with a steady gait. As a decorative item, the staff should not be left permanently in damp outdoor areas, but should be placed in a dry holder on the wall.
Safety with children: Avoid using pointed ornaments at the tip of the staff if children are nearby. Children can work with lighter, shorter sticks and blunt tools – these are suitable for sanding, decorating and sketching the runes. Sawing and carving with sharp blades should be left to adults.
FAQ on the Viking rune stick
How long does it take to carve a Viking rune stick?
For a simple staff made from wood that is already dry, it takes about 2 to 4 hours in the space of an afternoon. If you’re carving intricate runes and adding extra decoration, you should allow 1 to 2 days, including drying time for the oil. If you’re working with a fresh branch, you’ll also need to factor in the drying period for green wood, which can take several weeks.
Can I make a runic staff together with children?
Steps suitable for children include sanding, decorating and sketching out the runes in pencil. All carving work involving sharp knives should be carried out by adults only.
Which runes are best for beginners?
Start with clear, simple symbols such as Algiz (protection), Fehu (prosperity) and Raidho (journey). For your first attempts, it’s better to choose just a few clear runes rather than a complete Futhark set – this keeps the selection straightforward and the result neat.
Can I use a round rod from a DIY store instead of a natural branch?
Yes, that works well. Round sticks from a DIY store are straight, already dried out and easy to work with – though a genuine natural branch does look a little more authentic. For a quick start, or if you don’t have the opportunity to collect your own materials in the forest, the round rod from a DIY store is the simpler choice, without the final effect of the finished rune staff being noticeably compromised.
How do I distinguish between a decorative rune staff and a walking staff in practice?
A purely decorative rune staff is designed for visual appeal: fine, sometimes deep carvings and more delicate ornamentation are no problem here. A walking staff, on the other hand, requires greater structural stability – fewer delicate, weak points in areas subject to stress, a robust tip made of rubber or metal, and overall sturdier proportions. Ultimately, the intended use determines the appropriate design.


Letters from the trading house
New arrivals, market dates and offers, straight from Rinchnach. Unsubscribe any time with one click.
Subscribe to the newsletter