
Needle-knitting predates both knitting and crochet – and for a long time it had almost disappeared. Using just a single blunt needle and short lengths of yarn, you can create sturdy textiles that withstand the wind and cold: socks, hats, mittens and pouches. What our ancestors knew thousands of years ago is now enjoying a vibrant renaissance in the re-enactment and living history scenes. This article shows you how, as a beginner, you can get started in this fascinating world of historical handicrafts.

What to expect in this article
- Key points at a glance
- What is needle-lacing – and why has it been ‘forgotten’?
- Historical background: Older than knitting and crochet
- Why needle binding is so popular in the re-enactment scene
- Materials for beginners: needle, yarn and accessories
- Basic principle: Loops instead of stitches
- Popular starter stitches: the Oslo stitch and more
- Step by step towards your first project
- Differences from knitting and crochet
- Learning resources and community: How to find help when starting out
- Caring for and repairing needle-worked pieces
- Conclusion: Ancient knowledge, modern application
- Frequently asked questions about needle binding
 Reading time approx. 10 mins.
Key points at a glance
- Needle binding (also known as Nålbinding, Naalbinding or Naalebinding) is several thousand years older than knitting and has been documented as far back as the Neolithic period – the oldest finds date back to the 7th millennium BC.
- The technique is particularly popular in the re-enactment and living history communities, as it provides historically accurate equipment for re-enactments ranging from the Stone Age to the High Middle Ages.
- Beginners need only a minimum of materials: a blunt-tipped needle made of wood, bone or metal, and feltable wool in thicker weights.
- Popular beginner’s stitches, such as the Oslo stitch, produce elastic, durable fabrics – ideal for socks, hats and gloves.
- Courses and guides are available online, in museums, open-air museums and re-enactment societies to help you get started.
What is needle-lacing – and why has it been ‘forgotten’?
In needle binding, loops are joined using a single, blunt needle – without any knitting needles or crochet hooks at all. The technique is regarded as a kind of link between sewing, knitting and crochet: the working thread is pulled completely through the previous loops and tied off – so each loop secures itself.
The history of needle binding goes back a surprisingly long way. The oldest known textile fragments made using this technique were discovered in the Nahal Hemar Cave in the Judean Desert (modern-day Israel) and dated to around 6,500 BC – some reports of the finds even suggest an even earlier date. Knitting, by contrast, is documented as having spread across Europe only from the 13th and 14th centuries onwards, with early finds from Spain and the Baltic region. In the late Middle Ages, needle-binding was increasingly supplanted, as knitting with a continuous thread was quicker and better suited to mass production.
In the 20th century, the technique fell almost completely into oblivion across much of Europe. Since the 1990s, however, we have witnessed a rediscovery of the craft through archaeological research, museums and re-enactment groups. Today, needle-lacing is aimed at beginners wishing to learn historical handicrafts, as well as at re-enactors seeking authentic clothing for their performances.
Historical background: Older than knitting and crochet

The oldest known needle-bound fragments come from excavations in what is now Israel and are dated to the 7th millennium BC. This makes needle binding one of the oldest textile techniques known to humankind – and one that is thought to have developed independently in various parts of the world.
Important archaeological finds of needle-binding in Europe and the Middle East
| Region | Period | Notable feature |
|---|---|---|
| Denmark / Germany | Bronze Age | Early European evidence |
| Oslo, Norway | 11th century | Find of a mitten, which gave its name to the Oslo engraving |
| York, England | 10th century | Famous needle-bound sock from the Coppergate hoard, on display at the Jorvik Viking Centre; its unique stitch pattern was later catalogued as the ‘York stitch’ |
| Egypt | 4th–7th centuries | Multicoloured stockings from the late antique/Coptic period |
In the north, particularly in Norway and Finland, needle-binding was used for work gloves and socks right up until the 19th and early 20th centuries – a living craft that stood the test of time, even though it was scarcely known in Central Europe.
Why needle-lacing is so popular in the re-enactment scene

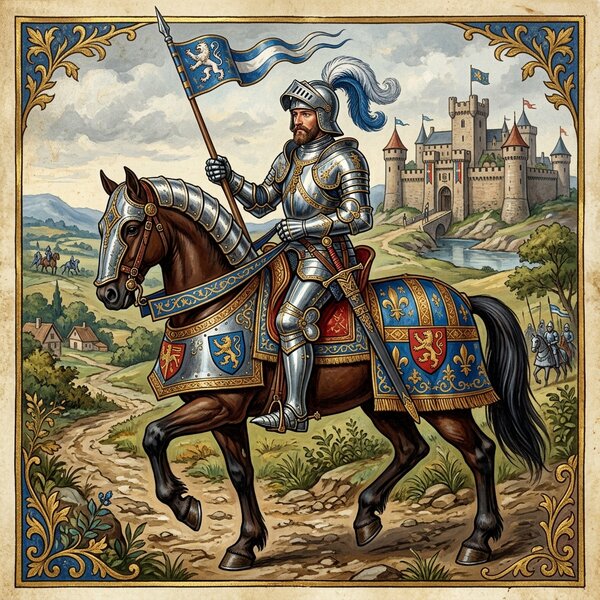
For living history, re-enactment and LARP, needle-binding offers a decisive advantage: the technique is historically well-documented from the Stone Age right through to the late Middle Ages. Anyone wishing to make authentic equipment for Viking, Slavic or High Middle Ages re-enactments will find the right method here – and a craft experience that hardly any other textile craft can offer.
Typical re-enactment projects
- Needle-bound socks for Viking shoes and lace-up boots
- Hats for women and men from various periods
- Mittens for cold camps and winter markets
- Pouches for fire steel, dice and odds and ends
The practical benefits are a hit at medieval markets and outdoor events: the textiles are extremely robust, windproof and retain heat. Even leftover yarn can be put to use in a historically plausible way – individual pieces of thread are felted together without visible knots and worked into items, just as our ancestors did. Many museum villages, open-air museums and re-enactment societies now offer needle-felting courses.
Materials for beginners: needle, yarn and accessories
Getting started with needle binding requires very little equipment – that is one of its greatest advantages.
The needle
- Flat and blunt, not pointed like a sewing needle
- Length: approx. 8–10 cm, width: 0.5–1 cm
- Material: wood, bone, antler or metal
- Large eye for thick yarn
- A single needle is quite sufficient
Recommended yarn for beginners
- 100% virgin wool or at least 70% wool content
- Feltable – no ‘superwash’ treatment
- Thicker yarns such as Aran or Worsted
- Light colours for better visibility of the stitches
The yarn is worked in short lengths (approx. 50–100 cm for beginners, later up to 6–8 m). Frayed yarn ends felt better than neatly cut ones – a small detail with a big impact for invisible joins.
Optional accessories: measuring tape, scissors, wool needles for sewing, a small pouch for the needle and yarn, and, if required, a felting needle for joining the ends of the yarn.

Basic principle: loops instead of stitches
The fundamental difference from other handicraft techniques: in needle-binding, each loop is pulled completely through the previous loops with the needle – closed, secured, and impossible to lose. In knitting, on the other hand, stitches lie open on the needles and can fall off or be unravelled.
Advantages of this structure
- The finished piece cannot be unravelled
- If a thread breaks, all remaining loops remain secure
- Extremely durable, windproof structure – ideal for outdoor use
Two typical working techniques
- Freehand method: Loops are formed directly with the fingers
- Thumb-loop method: Loops are placed over the thumb to ensure a consistent size
The stitch nomenclature (such as the Hansen system with designations like UO/UOO or anchoring codes like F1, B2) is of secondary importance for beginners at first. To begin with, concentrate on the sequence of movements. A practice piece – a small rectangle or strip of yarn – helps with practising before moving on to socks or hats.
Popular beginner’s stitches: the Oslo stitch and more
There are numerous stitches that differ in structure, stretch and appearance. For beginners, one or two basic stitches are recommended.
Oslo stitch
- The classic beginner’s stitch – stretchy and easy to learn
- Produces a smooth, even stitch pattern
- Ideal for socks, hats and gloves
- Named after a mitten found near Oslo, Norway, dating from the 11th century
Mammen stitch
- Dense, firm fabric – suitable for particularly sturdy gloves or bags
- Named after a 10th-century rich man’s grave near Mammen in Denmark
Another variation is the Brodén stitch: slightly thicker and warmer, but less elastic. A beginners’ course usually focuses on a single stitch to help you properly master the hand movements – that’s the right approach.
Step by step towards your first project
Don’t be daunted by your first attempt. Here’s a step-by-step guide for a beginner’s project:
- Make the starting loop: form the thread into an initial loop
- Work the foundation chain: create the base row using your chosen stitch (e.g. Oslo)
- Join to form a ring: For circular projects, join the chain
- Continue working in rounds: Pass each new loop through the loops of the previous round
Example project: a hat. Start with a small circle at the crown, expand it with regular increases (4–8 per round), then work it outwards without any increases.
Example project: a sock. Start the toe section in rounds, continue with the foot section, then work the heel separately later.
Guidelines such as stitches per round vary depending on yarn thickness and personal tension. The result of your first project doesn’t have to be perfect – irregularities are historically quite authentic. The aim is to commit the sequence of movements to muscle memory.
Differences from knitting and crochet

Needle-knitting is not a ‘better’ form of knitting, but a distinct technique with its own logic. A direct comparison:
Needle-knitting, knitting and crochet compared
| Aspect | Knitting | Crochet | Needle-binding |
|---|---|---|---|
| Tools | Several needles | A crochet hook | A blunt-tipped needle |
| Yarn | Continuous | Continuous | Short lengths |
| Stitches | Left on needles | An active stitch | Each loop is complete |
| Unravelling | Easy to do | Possible | Not possible |
Needle binding is slower than knitting, but produces extremely durable, warm textiles – ideal for outdoor and re-enactment gear. Previous experience of knitting or crocheting is helpful for understanding yarn tension, but not essential. Many people who struggle with circular needles find that needle binding is their gateway into handicrafts – because it requires just a single, large needle.
Learning resources and community: How to find help getting started
Online resources
- Video tutorials on YouTube (in German and other languages)
- Illustrated guides with step-by-step photos
- Historical blog articles, such as those by Ulrike Claßen-Büttner
- PDF introductions to download
Books and specialist literature
- German-language introductions for beginners
- Odd Nordland: ‘Primitive Scandinavian Textiles in Knotless Netting’ (1961) – a standard work still cited today by those with an interest in history
Local courses and hands-on instruction
- Adult education centres
- Museum villages and open-air museums
- Medieval markets with taster courses
- Re-enactment gatherings and historical societies
Traditionally, the craft is passed on through direct demonstration and imitation – and that’s still the best way to do it today. The community is usually small, but exceptionally helpful.
Care and repair of needle-bound items
Washing and care instructions
- Hand wash in lukewarm water using a wool detergent
- Squeeze out gently only; do not wring
- Lay flat to dry to prevent distortion
The firm structure makes needle-knitted items particularly resistant to runs – ideal for high-wear areas such as heels, the balls of the feet and fingertips. Holes can be mended directly using a short piece of yarn and the same stitch pattern. In the event of more extensive damage, the affected area can be cut out and re-needle-knitted. When used outdoors – around campfires, in damp conditions or in mud – regular checks are recommended, and small areas should be mended immediately.
Conclusion: Ancient knowledge, modern application
Needle-lacing combines a tradition dating back millennia with practical benefits for today. This robust handicraft technique produces authentic re-enactment gear as well as cosy everyday accessories. The barrier to entry is low: a needle, some wool, and patience whilst learning the hand movements. Start with a small project such as a pouch, wrist warmers or a simple hat. From there, it’s just a small step to socks and multicoloured patterns.
Those who delve deeper will discover complex stitches, patterns and colour combinations that vary from culture to culture – unique, one-off pieces, crafted using a technique that our ancestors mastered thousands of years ago.
Frequently asked questions about needle binding
Is needle binding suitable if I’ve never knitted or crocheted before?
Yes, needle lace can be learnt without any prior experience. Many beginners are drawn to this technique precisely because they struggle with knitting needles. The movements may feel unfamiliar at first, but through repetition they quickly become second nature – expect to spend around 2 to 10 hours practising. Start with simple yarn in light colours and the Oslo stitch, rather than choosing complex patterns straight away.
How long will it take me to finish my first wearable project?
A small project such as a hand warmer or a pouch can be completed in just a few evenings – around 2 to 5 hours, depending on your level of experience. Socks and hats take longer, especially on your first attempt, as you’ll often have to start afresh and adjust the tension. The learning process is more important than speed – as you gain more practice, your work will become much quicker.
Can I use fibres other than wool?
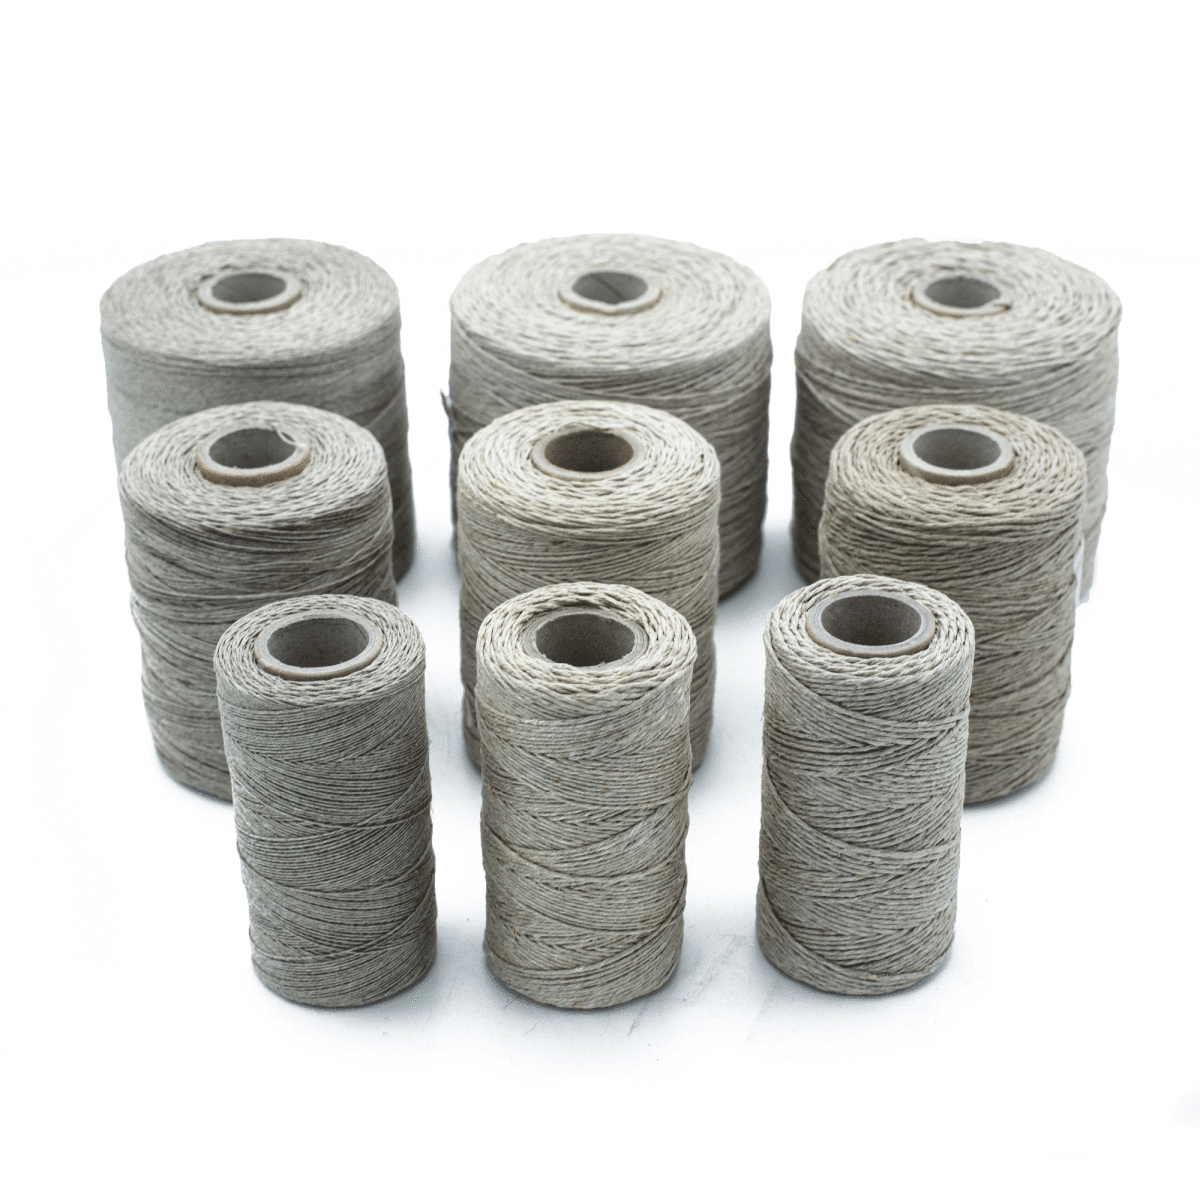
For beginners, classic virgin wool is best suited, as it glides well, keeps you warm and can be felted. Plant-based yarns such as cotton or linen do work, but they are less elastic and more difficult to work with. For historical re-enactment projects, the choice of fibre depends on the period being portrayed – wool for Northern European cultures of the Viking Age, linen more for summer underwear in the High Middle Ages.
How do I join new lengths of thread as invisibly as possible?
The traditional method is felting: pluck the ends, dampen them and felt them between your palms until a secure join is formed. Alternatively, both threads can be passed through a few stitches so that they overlap, or a felting needle can be used. Knots were historically avoided because they add bulk and cause pressure marks in socks and gloves – with the correct felting technique, you can avoid this problem from the outset.
Which projects are best suited to absolute beginners?
Start with small, flat or tubular projects: wrist warmers, simple mobile phone pouches, small utility pouches or basic oven gloves. These projects are forgiving of shaping errors and provide a quick sense of achievement – before moving on to more complicated shapes such as heels and hat crowns. Small pieces also make excellent re-enactment accessories or personalised gifts.


Letters from the trading house
New arrivals, market dates and offers, straight from Rinchnach. Unsubscribe any time with one click.
Subscribe to the newsletter